I think my cat's been reading my diary.
Tuesday, May 15, 2012
Labels:
cake,
crimson king,
dark tower,
evil,
gunslinger,
logo,
magic,
sigil,
steven king
Friday, May 4, 2012
Wednesday, April 18, 2012
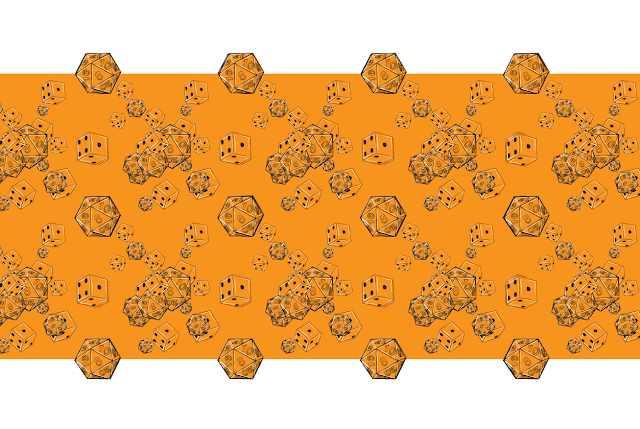
Nerdy Patterns

My newest experiment is in pattern making. It was a lot of fun and I came out with 5 patterns, 3 of which I really like. I also used the dice graphics to make some really awesome illustrator brushes that I highly recommend. All the patterns/wallpapers/brushes are free to use but if you could show your thanks by posting a link or repining/stumbling this page I would be forever grateful. So without further stalling... I give you Nerdy Patterns!
Download
Included in the download is:
- 1 ai file that includes all 5 repeating patterns and a bunch of brushes ( feel free to ungroup the images and use them to make new patterns)
- 1 pdf that includes 5 wallpapers of pattern as well as all 5 repeating patterns
- 10 png files, 1 of each wallpaper and 1 of each pattern.
And just incase you don't want to download a full package for a few wallpapers here they are :) Wallpapers are blogger background size
Monday, April 16, 2012
Superhero's on sale!
I recently discovered an amazing website by the name of Fiverr where people offer services like singing, drawing, acting, etc. The selling point is that all services are 5 dollars. Its great if you need a quick drawing or banner on the cheap or if you are just looking for an interesting gift.
So loving bandwagons I quickly hopped aboard this one with a superhero commission service. Basically I take a normal picture of a person like this:
And turn it into this:
Or this
I try to talk to the customer and ask them a little bit about what they want then I sketch it up in illustrator using the photo as a base.
All of the above pictures are actually doodles I made from stock photos since I don't really want to post other peoples pictures on the internet :)
2 of the pictures are stock photos from devaintart that I have included links to below but the third is a picture of Katy Parry I found on google images, unfortunately I did not think to save the link.
Friday, April 13, 2012
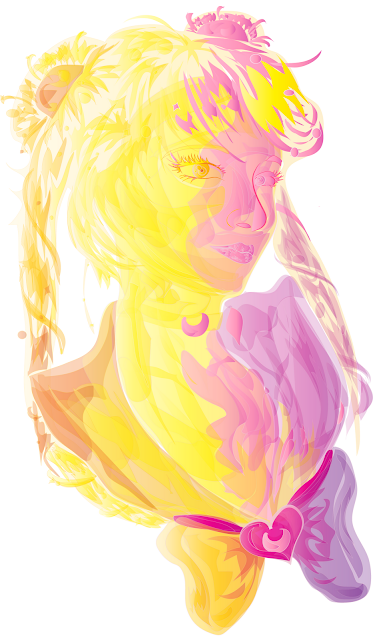
Sailor moon, Adobe illustrator and experimentation in coloring.

Recently I've been expanding on my knowledge of adobe illustrator, a program I picked up some time ago but was always very intimidated by. That changed recently when my roommate sat down and demonstrated many of the basic functions and after some experimentation with black and white line art I decided to try my hand at a fully colored picture. Since I'd never done anything like this before I decided to find a tutorial. Though I only loosely followed the steps it was very helpful in getting to my finished picture.
Using this stock photo found on www.deviantart.com I used the picture to position the base shapes then colored each base with additional shapes I made largely at random. After I had added all the shapes and was about half way done the tutorial I had something that looked like this:
I was pretty happy with how easy the coloring was and was enjoying filling in random shapes with random colors, Its a lot more loose and free then my usual methods. but before I could move on to adding the shine and final details I decided I needed to make a few revisions.
Here it is after adding the shine to the hair, face, and other key areas as well as a few other alterations. I decided to make the bow a little smaller and to move her one pig tail so they both moved along the sailor collar.

But I still wasn't happy with it... So I started to play around with the colors. After a long time of experimenting I ended up with this:
In the end I used the previous two pictures to make the final image. I layered the 3ed draft over the second and reduced the opacity until I was happy with the result.
I then moved the image over to photoshop where I added a soft pink granulate background and then used this brush set to add in the stars and circles behind sailor moon. :)
And that's how I did it! I'd like to say a great big thank you to the creators of the resources I used and if you would like to view the resources just click on the picture of them and it will open a new tab to the creators page.
Labels:
anime,
colorful,
design,
fan art,
graphic,
illustrator,
photoshop,
sailor moon,
tutorial,
vector
Monday, October 17, 2011
Banana Charm Tutorial

I forgot to put the eye pin you need to stick into the banana
in this picture of materials but I will point it out in later photos.
smaller yellow all and white ball.
Role them together! :)
It should be a solid inner banana color
Split it in two and role each half into a banana shape
Take the larger yellow ball and split it into 3 smaller balls.
like this!
role the balls into sticks... lol
flatten the sticks.
shape the flattened sticks into your banana peel.
wrap the banana peel around the banana =^_^=
Ba ba ba ba ba... Banana Phone!
Bend the peel back to expose the banana
Eye pin mentioned earlier!
Take a set of pliers and brake the eye pin
so it is small enough to fit into the banana
like so! than carefully stick the pin into the banana
I don't have any pictures of the baking steps but I put tin foil over a baking sheet and bake for as long as it says on the package the cay came in. Be careful not to over bake as it will make the clay go a light brown color that is not very nice -.-
After you finish baking they should look something like this...
you can also make closed banana's by adding a brown
section of clayto the end and sealing up both sides.
Or by cutting the banana in half you can
secure the flat side to an earing stud
Subscribe to:
Comments (Atom)


